You pick up your mom’s old Canon camera and decide to take it to the beach, you know how to turn it on and take photos in automatic mode but anything beyond that is a mystery.
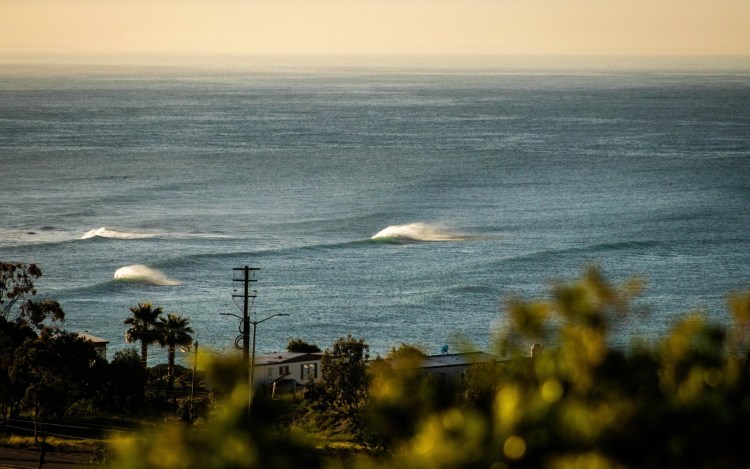
If you are considering picking up a hobby relating to surf photography or videography these tips and tricks will give you the experience of a professional without spending hours on hours at the beach. To begin, you need to know your camera inside and out. Google it, find out how to use it in manual mode, and understand how all the settings interact with each other. A good starter camera for surf photography/videography is a Canon Rebel T3i (3.5 FPS), if you find that you enjoy surf photography/videography and want a better camera with a faster FPS (frames per second) I recommend the Canon 80D (7 FPS). With more frames per second that your camera shoots the higher chance of nailing the one specific shot that could end up on the front page of Surfline or Stab Mag. Once you know how your camera works and how it takes pictures in manual mode pay attention to what lens you are wanting to use. The Canon long-range kit lens (75mm-300mm) is perfect for intro to surf photography. An upgrade to the long-range kit lens would be the Canon 100mm-400mm lens. Take your camera, (lens attached), down to the beach and walk up on the sand nearly to the water’s edge, if it’s hot enough standing ankle-deep in the ocean will not only keep you cooler but will also give you a nice tight shot.

What is a tight shot you are probably wondering? Shooting tight means zooming in so that the surfers and the maneuvers they do fill the frame. In the photo above of Bryce in Mexico, you can see that although Bryce’s body looks fairly small in the frame his board and the spray from his maneuver fill the frame nicely. Shooting tight and filling the frame will help you take more professional-looking photos.
Let’s talk about how to get the photos from the camera to the final destination. Your photos are stored on an SD card inside the camera, simply remove the SD card and plug it into either an SD card slot or SD card reader to access the photos on your laptop or computer. Once you have the photos on your computer you may need to color correct or straighten horizons on some if not most of your photos. My favorite program to edit photos with is Adobe Lightroom Classic. Adobe Lightroom Classic is very user-friendly because of its layout. Everything you are looking can be easily found within a few clicks in the program. The main emphasis in using a program to edit photos is to just touch them up, to make them more visually pleasing. The goal is not to fabricate colors or photoshop in clouds or something silly like that. You want to create an image that is realistic to what the colors and conditions were actually like at the time of the shoot. The main changes to make to your images in Adobe Lightroom Classic are 1. Straightening the horizon. 2. Adding a little contrast and color to the image. And, 3. Make sure the photo still looks accurate to what the conditions really looked like at the time the photo was taken. After editing the photos in Adobe Lightroom Classic or another editing program of your choice, you want to export the photos and move them most likely to your phone where you can post them on social media, if the photos are just for yourself. If the photos are for the surfers/clients, I have found the best way to send files for free is through a website called WeTransfer. WeTransfer allows you to send 2 gigabytes of media per WeTransfer tab open. WeTransfer converts the media into a link that you send (usually) via email. If you are having trouble getting the photos to your phone you can send a WeTransfer folder to yourself and access them that way.

Let’s get into the tougher side of capturing surfing, videography. The reason I claim that videography is more difficult than photography is that in photography you are looking at at least 1 frame and a maximum of maybe 20 frames in a full sequence. In videography, you are generally filming at 60 frames per second or even 120 frames per second. Most videos or clips can range from 4-5 seconds to upwards of 25 seconds. To capture a fully ridden wave successfully and to film it in such a way that looks cinematic is a taller order than capturing one frame of one maneuver on a wave. The Canon Rebel T3i that I recommended as an intro to photography camera will not suffice as an intro to videography camera because the video shoots at 29 fps instead of 60 fps like most cameras. The Canon 80D will suffice as a video camera because it has 60 fps. The kit lens (75mm – 300mm) that I recommended is more than likely good enough for videography. The most important thing about filming surfing or surf videography is your tripod. I have had a lot of experience testing and trying out different tripods. I have found that a heavier tripod works better than a lighter tripod (for me personally). The tripod I currently use is an E-Image aluminum tripod kit. The reason I like the heavier tripod is less shake. When you are filming in windier conditions there seems to be less shake than with a light tripod. Obviously, any tripod can have minimal shake if it is balanced properly. What do I mean by balanced? When setting up a tripod the weight of the lens and the camera may not be balanced in the middle of the tripod. This can be fixed in a few ways. First, you can slide the camera forward or backward to try and find a balance between the camera, the lens, and the center of the tripod. The other way to balance your tripod and camera is to weigh it down through the use of either a backpack, towel, or a sweatshirt. It is more important to pan the tripod steadily and without shake than it is to jerk the camera attempting to keep the subject/ surfer in the middle. Be smooth and be patient, surf videography is much harder than surf photography, the more time you put into it the more you will learn and the better you will become.
Stay up-to-date with the latest surf photography/videography tips and tricks
